Setup Asmid Server
This tutorial will walk you through the basic steps of downloading, installing, and configuring Asmid Server
- Part 1: Downloading and Installing Asmid Server
- Part 2: Installing FTP Server (freeFTPd)
- Part 3: Configuring FTP Server (freeFTPd)
Part 1: Downloading and Installing Asmid Server
Close all other programs (recommended) before installing Asmid Server and make sure that you install it logged in as Administrator or a member of the Administrators group if you are installing it on a Windows NT or higher system.
- Download the Latest Asmid Server installer
-
Double click or run the AsmidServerInstall.exe self-extracting installer. You may be prompted “Do you want to allow the following program to make changes to this computer” click Yes (or Allow). Clicking Yes will give the Asmid Server Installer Administrator privileges to install (required on most operating systems).
-
You will see the “Welcome to the Asmid Server Free Trial Edition Setup” screen. Click Next.
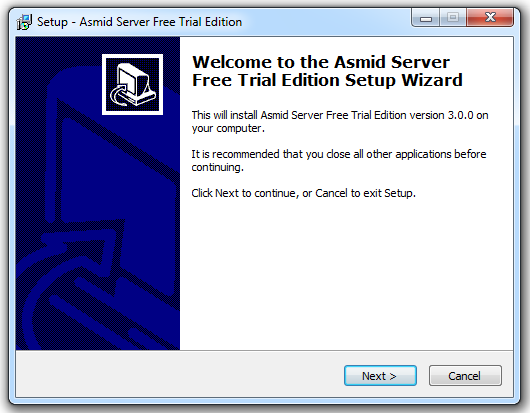
Asmid Server Install Welcome Page - Agree to the licensing agreement to continue. Select the “I accept the agreement” button and click Next.
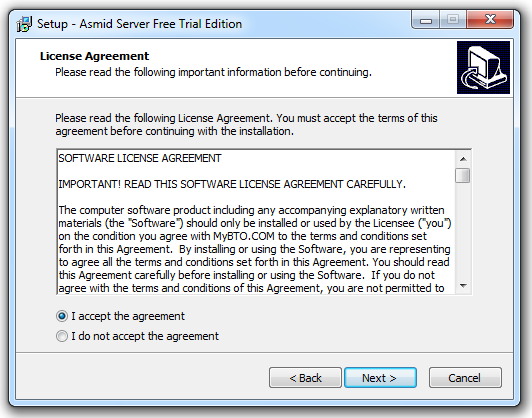
Agree to the licensing agreement - Select an installation folder. Or keep the default path and click Next.

Select Installation Folder Setup Page - Select Start Menu folder to create the program’s shortcut. Or keep the default folder. Click Next to move to the confirmation page.

Select Start Menu Folder Setup Page - Confirm your settings and click Install to begin installation.
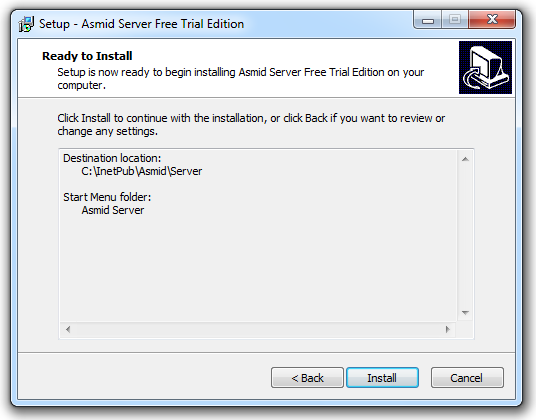
Confirm the settings for your installation - Click Finish to complete the installer and launch Install FTP Server.
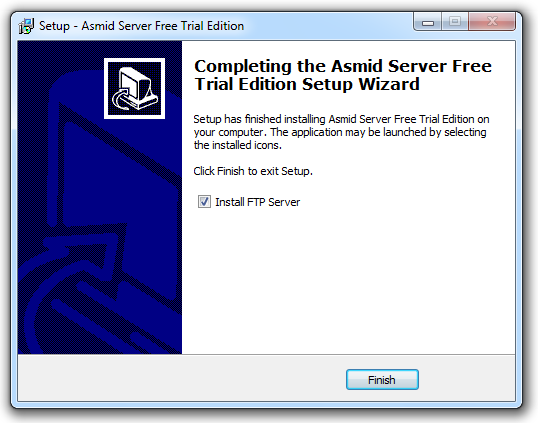
Installation Complete Setup Page
Part 2: Installing FTP Server (freeFTPd)
- You may be prompted “Do you want to allow the following program to make changes to this computer” click Yes (or Allow). Clicking Yes will give the FTP Server Installer Administrator privileges to install (required on most operating systems).
-
You will see the “Welcome to the freeFTPd FTP+SSL/SFTP Server Setup” screen. Click Next.

freeFTPd FTP+SSL/SFTP Server Install Welcome Page - Select an installation folder. Or keep the default path and click Next.
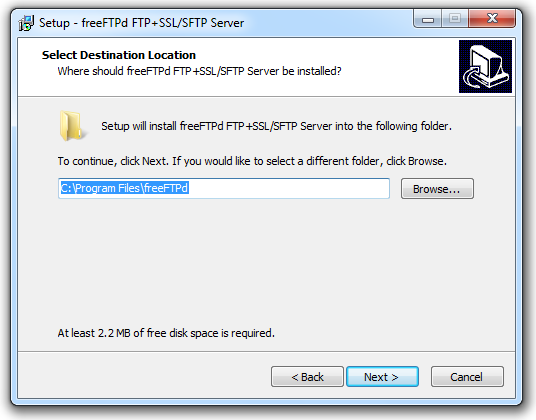
Select Installation Folder Setup Page - Select Full installation and click Next.
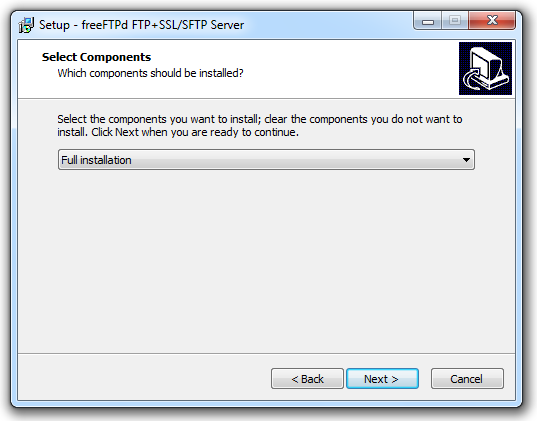
Select Full installation Setup Page - Select Start Menu folder to create the program’s shortcut. Or keep the default folder and click Next.

Select Start Menu Folder Setup Page - Select Create a desktop icon and click Next to move to the confirmation page.
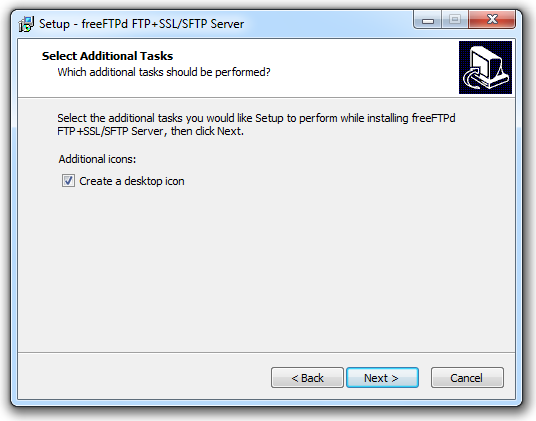
Create a Desktop Icon Setup Page - Confirm your settings and click Install to begin installation.
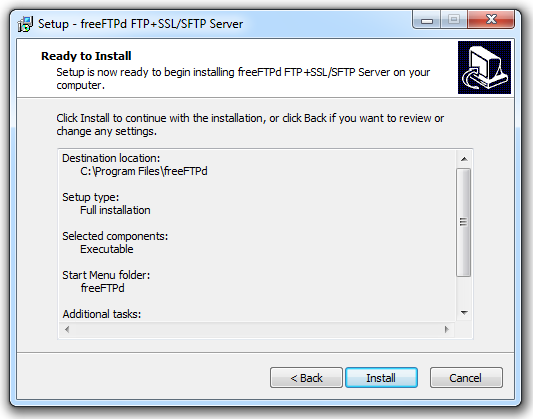
Confirm the settings for your installation - Select Yes to run freeFTPd as a system service.
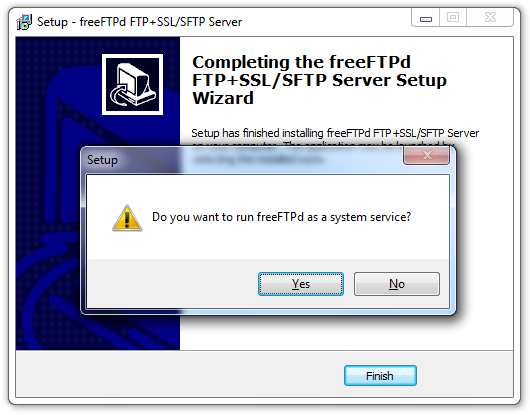
Select Yes to run freeFTPd as a system service - Click Finish to complete the installer.
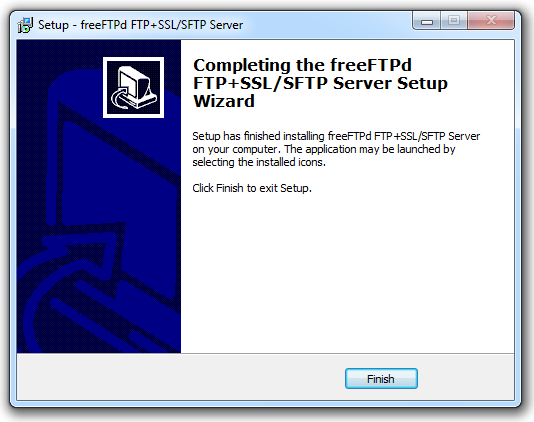
Installation Complete Setup Page
Part 3: Configuring FTP Server (freeFTPd)
You just need to Create an FTP User and Enable the log events option, leave the rest of the settings as default.
Create an FTP User:
On the left menu under Status, click on Users and click on the Add button.
- Enter Asmid Client in the Login field.
- Select Anonymous user account in the Authorization field.
- In the Home directory field, enter the path to the Asmid Server folder. If you have selected a different installation folder during Asmid Server installation, enter the path to that folder. If you have left it as default, the default path is C:\Inetpub\Asmid
- Click on the Apply & Save button to save your settings.

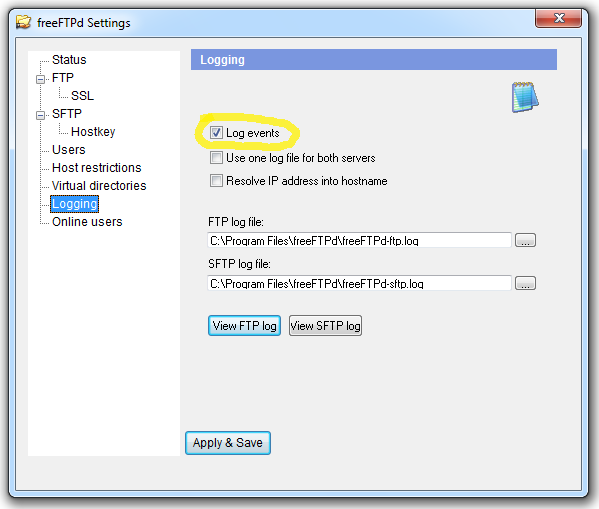
Enable the Log events option:
On the left menu under Status, click on Logging.
- Tick the Log events button.
- Click on the Apply & Save button to save your settings.